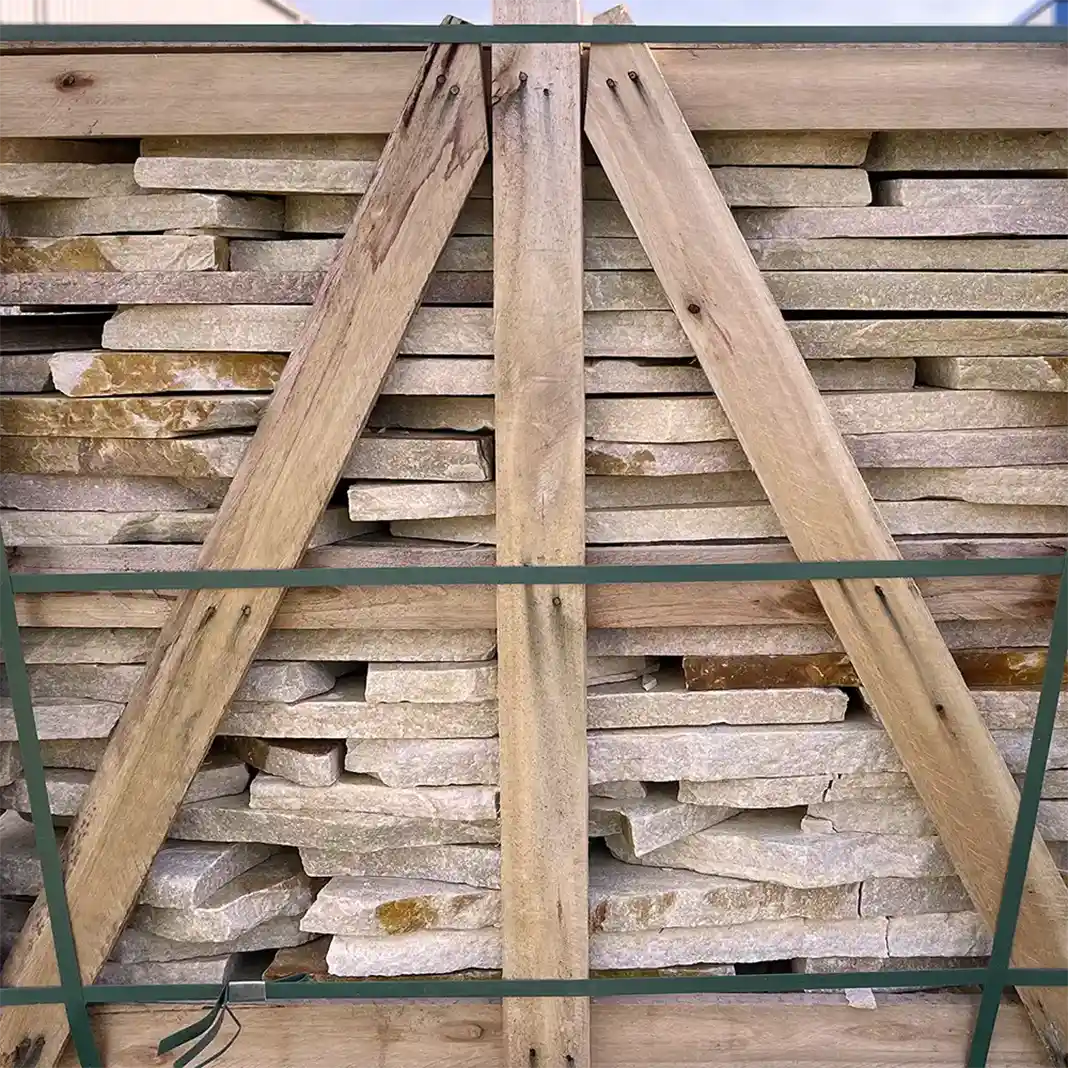
Collection: Natural Stone Patio Slabs: Polygonal Slabs for Patio

Polygonal Polaris patio slabs

No products found
Use fewer filters or remove all

REQUEST FOR YOUR PATIO PROJECT

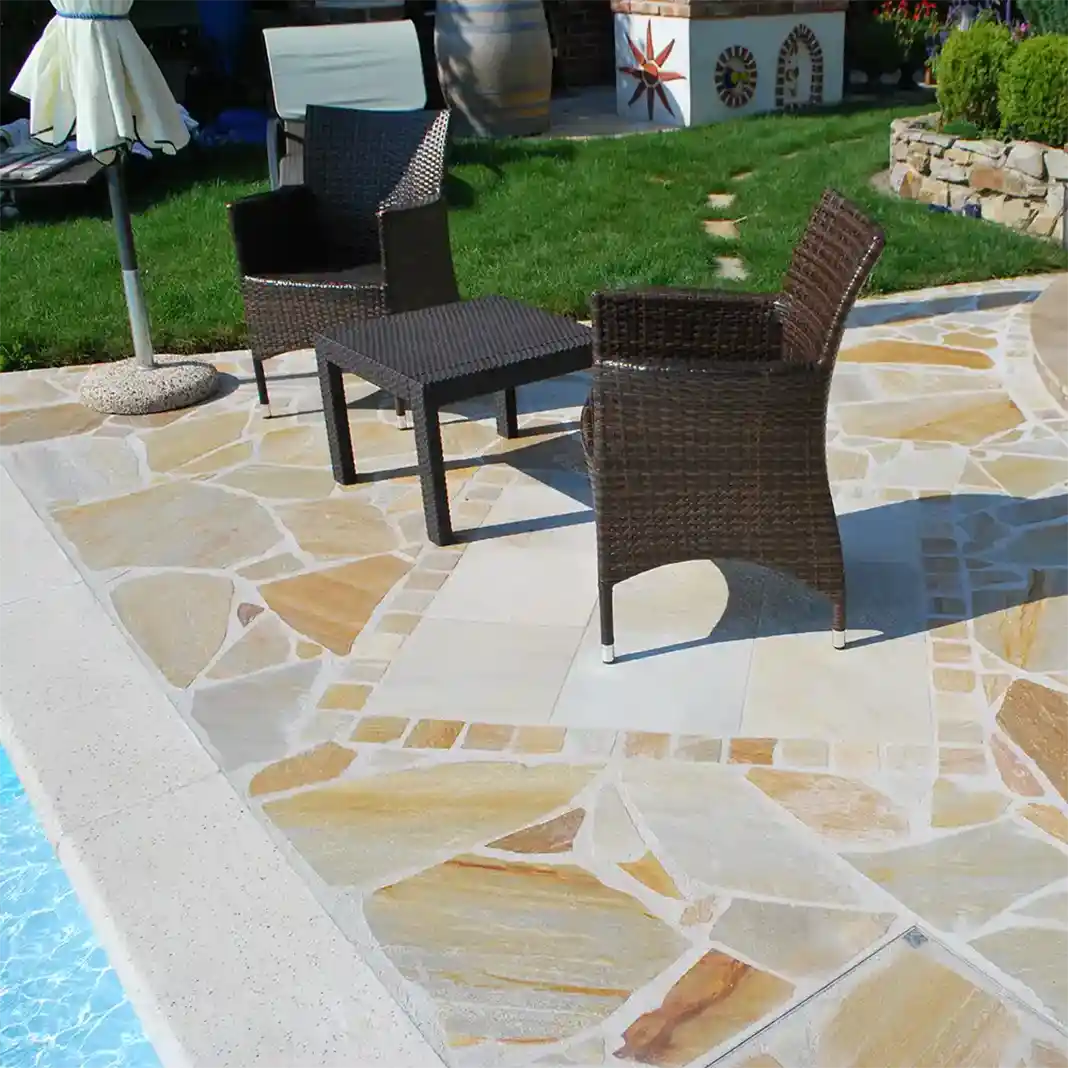
Give your patio the finishing touch with polygonal natural stone slabs!

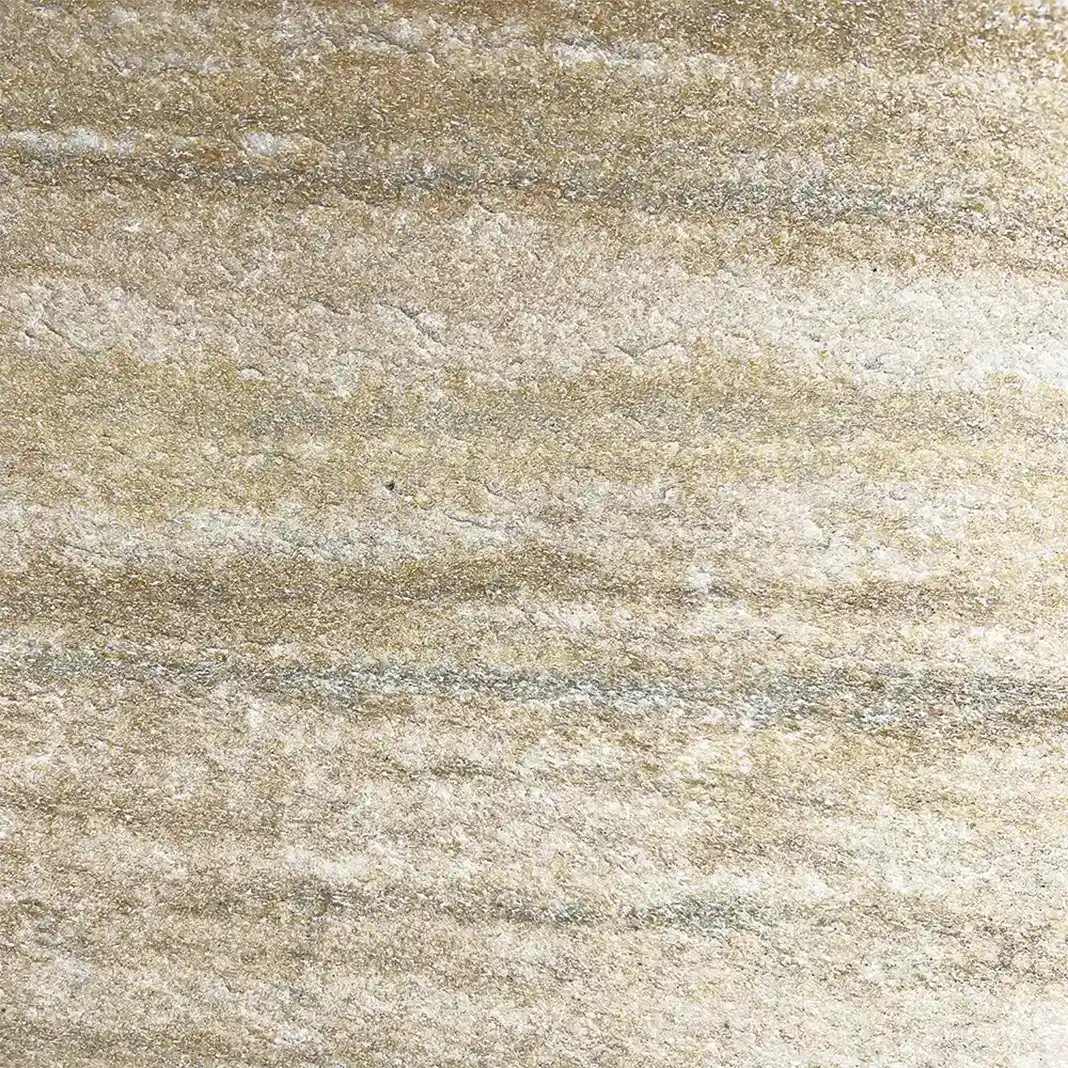
Natural stone patio slabs are unique, stone by stone and a perfect way to put the finishing touch on your patio and garden path. Available in anthracite, beige, and many other different colours and shades as well as thicknesses, polygonal patio slabs made from flagstones offer a durable and attractive surface that gives outdoor areas a Mediterranean, nostalgic look. Polygonal patio slabs are also easy to lay and can be installed on a variety of substrates, including gravel, sand, and concrete. On top of that, they are easy to maintain and, if impregnated beforehand, largely resistant. We recommend treating the stones with a special sealant to protect them from dirt and moisture. This gives your patio additional protection against the elements and ensures a beautiful, long-lasting appearance just as you want it.

Current customer feedback

Terrace slabs Clara- customer reference

Easy-care, natural look and feel. Polygonal natural stone slabs for your patio.
Patio slabs in a natural polygonal design. Broken stone slabs turn your patio into a natural feel-good paradise.
Naturally lay stone slabs yourself. DIY complete package COMPRESA for do-it-yourselfers.

COMPRESA - The terrace complete package in premium quality. Everything included at an affordable flat rate. Free delivery to your doorstep.

Choose your preferred color for the joint and the desired sealing (natural effect or color-enhancing). All required materials such as polygonal slabs incl. 10% extra, binder, quartz gravel, color quartz and sealing are already included in this all-inclusive package.

The subsoil for patio slabs must be

There are three ways to create a suitable base for patio slabs and lay them. Here are the pros and cons: If you're searching for "substrate for patio slabs," you'll find a compact overview here.

Summary

Three base variants are compared: loose installation on chippings (cheap, but dirty and maintenance-intensive), installation on concrete (labor-intensive, technically demanding, with risks such as cracks and cement haze), and a gravel bed made of quartz gravel with synthetic resin (DIY-friendly, permeable, frost-resistant, easy to care for, and durable). The third method is highlighted as the preferred solution because it does not require cement, needs no slope, and looks great thanks to colored joint quartz gravel. Support from customer advisers and landscape gardeners is offered.

Base variants compared

1) Laying patio slabs loosely on chippings - the cheapest way

  • Method: Natural stone slabs are laid on a chippings or gravel bed; the joints are filled with chippings or gravel.
  • Disadvantages: Constantly loose chippings on the slabs. Joint material must be topped up regularly. Sweeping is tedious because loose joint material is swept out.

2) Laying patio slabs on concrete - the most labor-intensive way with cement or concrete

  • Requirements: Technical know-how and experience are needed. Be sure to provide a slope, steel mesh, and expansion joints. Work quickly, as concrete hardens fast.
  • Risks/disadvantages: Insufficient bonding between natural stone and cement is possible. Cracking and cement efflorescence. Concrete is considered not frost-resistant here. Cement haze often forms and is difficult to remove.

3) Easily lay patio slabs yourself with a gravel bed made of quartz gravel and synthetic resin

  • Recommendation: A gravel bed made of quartz gravel and synthetic resin is best suited as the base for patio slabs. Find out more with our COMPRESA patio package COMPRESA.
  • Special features: Matched quartz gravel grain size of 3-6 mm. No slope needed; water can seep into the ground. Cement-free installation: no cement efflorescence, no broken concrete pieces. Suitable for laying patio slabs in synthetic resin.
  • Advantages: Water-permeable and frost-resistant. Easy to maintain and clean. A visual highlight thanks to colored joint quartz gravel. DIY-friendly: can be implemented completely without a specialist contractor. Durable and virtually maintenance-free.
  • Support: Advice and help from the customer advisers and landscape gardeners at bruchsteinplatten.de.

How to lay polygonal patio slabs?

With our colored joint mortar based on quartz gravel and synthetic resin! Here you will find a brief guide for laying polygonal terrace slabs.

Laying terrace slabs requires some basic tools, such as rubber gloves, a shovel, a string, a spirit level, a rubber mallet, and a tape measure.

1. Prepare the base of the terrace.
Start with excavating the soil, fill it with recycled concrete, compact it with a hand tamper. The substructure must be level, load-bearing, and free of irregularities. Before laying terrace slabs, it should be leveled and smoothed. The terrace slabs are then finally positioned on the quartz gravel bed, see point 3.

2. Lay out the terrace slabs.
The terrace slabs must be positioned to create a uniform, appealing pattern. When placing the terrace slabs on the substructure (quartz gravel with synthetic resin), the joints should be approximately 4-8 mm wide. The terrace slabs will be laid on the quartz gravel bed. The slabs must be laid horizontally and row by row. When laying the slabs, the joint widths and depths must be maintained.

3. Finally lay and secure the terrace slabs.
To prevent the synthetic resin from hardening before laying, we recommend working square meter by square meter during installation. That means you mix enough quartz gravel and synthetic resin for about 1 sqm and lay your natural stones within a time frame of a maximum of 1 hour per square meter. This is stress-free, you make progress step by step and can easily manage your time without external factors complicating your work. To secure the terrace slabs, apply some synthetic resin to the underside before laying, preferably strip off excess and not dripping with a brush. With gentle pressure and a rubber mallet, finally secure the polygonal terrace natural stones in the substructure mixture.

4. Fill the joints.
Before grouting, we recommend impregnating the stone slab surfaces. Very important here, do not impregnate the edges as otherwise no bond can be created between the joint and the stone edge. The joints of the terrace slabs are filled with the joint mortar-synthetic resin mixture. It is important that the joint mortar mixture meets the requirements of the slab manufacturer. All stones from bruchsteinplatten.de work hand in hand with the quartz gravel-synthetic resin mixture.

5. Seal the terrace slabs.
To protect the terrace slabs from dirt and water, they should be impregnated and sealed. Special impregnating and sealing agents can be used for this purpose.

Patio slabs joint mortar available in 14 different colors

HOW TO REACH US PERSONALLY

Support and advice from Monday - Friday from 8 am - 4 pm

Phone: +49 (0) 3332 26 70 78 27

or by email at: verkauf@bruchsteinplatten.de

FAQ - Answers to frequently asked questions about polygonal natural stone terrace slabs

Which patio slabs are easy to maintain?

The best easy-care patio slabs are polygonal slabs made of quartzite and greywacke. We generally recommend impregnation to protect the surfaces. Otherwise, they are very easy to care for and require only a minimum of maintenance. Patio slabs are durable, resilient, and can be used without hesitation in all climate zones.

Which patio slabs should you buy for outdoor use?

There are many different types of patio stones for outdoor use. Some are made of natural stone, others of concrete or plastic. It depends on which look and style you prefer. Some patio stones have a smooth surface, while others have a rough, textured surface. If you are looking for a durable and long-lasting option, polygonal split-faced natural stone slabs are a good choice for outdoor use. They are natural, durable, sturdy, and easy to maintain. Bruchsteinplatten.de offers a wide range of high-quality natural stones in various colors and shapes with free shipping. Our gray and blue tones Grauwacke, gray Quartzite patio stones, beige/yellow to rust red tones, and of course our natural slate patio stones in 3 different natural stones from black to anthracite, red to beige tones.

How much does it cost to have patio tiles laid?

This depends on many different factors, such as the size of the terrace, the material of the terrace tiles, and the type of installation. Typically, the costs for laying terrace tiles range from 90 to 150 euros per square meter.

Which joints for patio slabs?

There are different types of joints for terrace tiles. It is usually recommended to use a joint width of 5-10 millimeters to achieve optimal water permeability. A variety of joint mortars are available on the market, including plastic and acrylic joint mortars, as well as natural stone and concrete joint mortars. It is recommended to use a joint mortar suitable for outdoor use. Based on successful laying practices, we exclusively offer joint mortar made of quartz gravel with synthetic resin, as it is water-permeable, frost-resistant, and free of concrete.

Who lays terrace slabs?

Terrace slabs are usually laid by professional landscapers. However, they can also be laid by yourself if you have the necessary skills and tools. We are happy to support you with instructions and advice from our experts. The cement-free installation with quartz gravel and synthetic resin is a variant that can be successfully completed by hobby craftsmen and DIY enthusiasts.

How should the subsoil be prepared for patio slabs?

The substructure for terrace tiles should be level and load-bearing. It is ideal to use a so-called concrete recycling layer (approx. 10 cm) to support the tiles and prevent them from sinking. In addition, a layer of quartz gravel and synthetic resin (build-up height of 3 cm) should be applied to create a level surface for laying the tiles and anchoring them securely.